
How to Start Baking Bread
The Standard 1:1:1 Feeding Ratio
For everyday maintenance, feeding your starter equal parts existing starter, flour, and water (by weight) keeps it perfectly balanced.
What You Need
Flour: Unbleached bread flour, whole wheat, or rye (or a mix).
Water: Filtered or room-temperature water (chlorine-free is best).
A Scale: For the most accurate results.
Step-by-Step Instructions
Discard: Place your starter jar on the scale and tare it to zero. Transfer all but 50g of your starter into a separate container (you can save this "discard" in the fridge for recipes like pancakes or crackers, or throw it away).
Add Water: Pour 50g of room-temperature filtered water directly into the jar with your remaining 50g of starter. Stir it vigorously with a fork or chopstick until it's loose and milky.
Add Flour: Weigh in 50g of flour. Stir thoroughly until all the dry flour is fully incorporated and no dry clumps remain. The texture should be thick, like a paste.
Cover & Rest: Scrape down the sides of the jar. Cover it loosely with a lid or a cloth secured with a rubber band (don't seal it airtight, as gas needs to escape).
Step-by-Step Instructions
Step 1: Mix the Dough
Place your mixing bowl on the scale and tare it to zero.
Weigh out 350g filtered water and 100g active starter. Whisk them together with a fork until the starter is dissolved and the liquid is milky.
Add the 500g bread flour, 12g salt, and 10g oil.
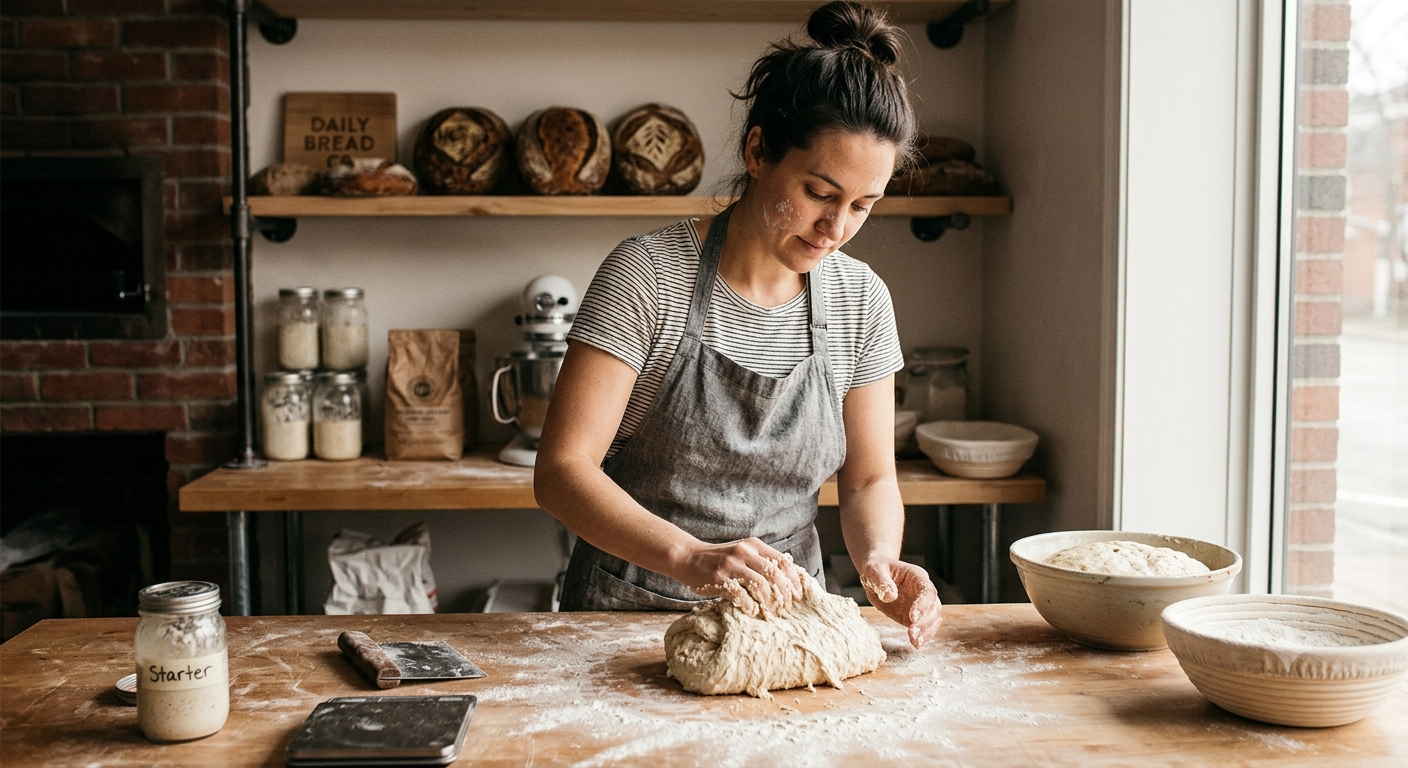
Mix thoroughly with your hands or a scraper until all the dry flour is fully incorporated. The dough will look shaggy and thick.
Cover the bowl with a damp cloth or lid and let it rest undisturbed for 30 minutes (this is the autolyse phase, which allows the flour to fully hydrate).
Step 2: The Stretch & Fold (Build Structure)
Sourdough relies on periodic folding instead of traditional kneading to build strength.
First Fold: Wet your hands slightly so the dough doesn't stick. Grab an edge of the dough, pull it gently upward, and fold it over the center. Rotate the bowl 90 degrees and repeat. Do this 4 times until you’ve gone all the way around the dough.
Cover the bowl and let it rest for 30 minutes.
Repeat: Complete 2 to 3 more sets of stretches and folds every 30 minutes. You will notice the dough becoming smoother, tighter, and more elastic with each set.
Step 3: Bulk Fermentation (The First Rise)
Once your stretches and folds are complete, cover the bowl tightly.
Let the dough sit undisturbed on your counter to ferment. Depending on your room temperature, this typically takes 4 to 8 hours.
What to look for: The dough should increase in volume by about 50%, look slightly domed on top, have a few smooth surface bubbles, and feel full of air when you gently shake the bowl.
Step 4: Shape and Cold Proof
Gently tip the dough onto a very lightly floured surface. Do not punch it down.
Fold the edges of the dough into the center, flip it over so the seam side is down, and cupping your hands around it, pull it gently toward you against the counter to create surface tension and form a tight, smooth ball.
Place the shaped dough top-side-down into a flour-dusted proofing basket or a bowl lined with a well-floured kitchen towel.
Cover the bowl and place it into the refrigerator for 12 to 24 hours. This cold proof slows down the fermentation, deepens the complex flavors, and firms up the dough so it holds its shape when baking.
Step 5: Score and Bake
Preheat oven to 450 degrees
Take your cold dough out of the fridge and carefully flip it out onto a piece of parchment paper.
Use a sharp razor blade or a very sharp knife to make a decisive, deep slash across the top at a slight angle. This gives the steam a path to escape and controls how the bread expands.
Using the parchment paper as a sling, carefully lower the dough into the hot Dutch oven.
Put the lid on and bake for 45 minutes (the trapped steam keeps the crust soft so the loaf can fully expand).
Carefully remove the lid, and bake for an additional 20 minutes until the crust is a deep, rich golden brown.
